「PaPaPointアプリ【環境構築編①】」の続きをやっていきます。
今日はfirebaseの設定をしていきます。
Firebaseプロジェクトの作成
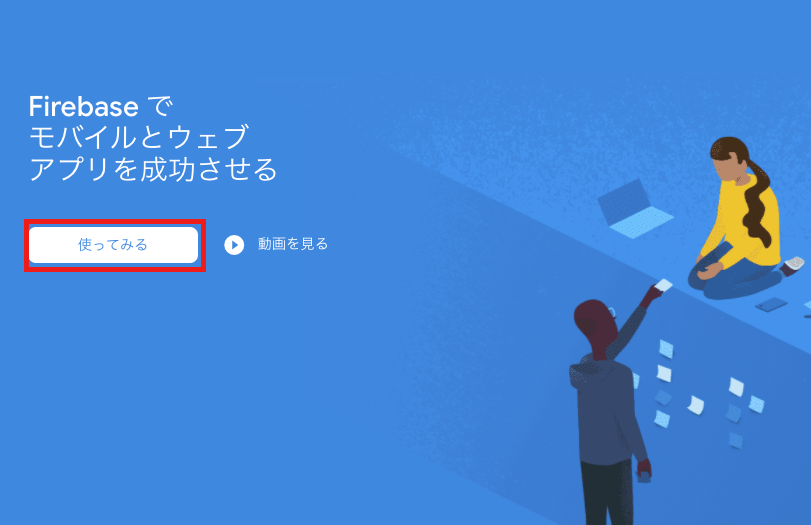
1. Firebaseのコンソール画面でプロジェクトを作成していきます
こちらにアクセスし,「使ってみる」を押します。
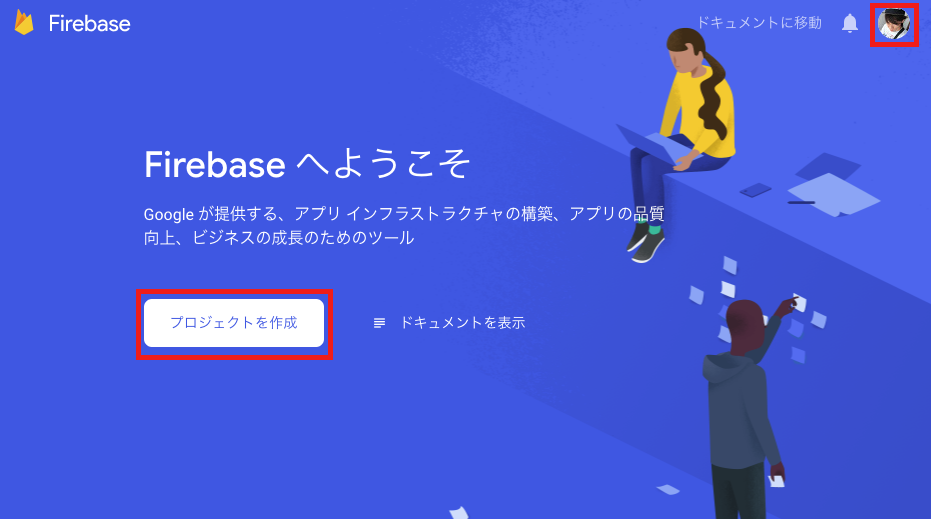
ログインしているアカウントを確認し,「プロジェクトを作成」を押します。
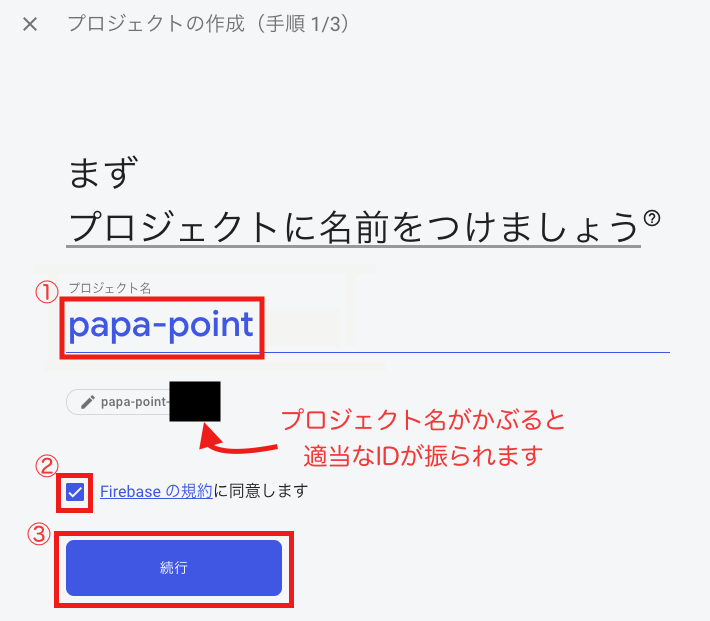
2. プロジェクト名を付けます
① プロジェクト名がプロジェクトIDとなり,Hosting時のサブドメインになるので,Firebaseサービス内で一意(ユニーク)である必要があります。
そのためプロジェクト名がかぶるとプロジェクト名下の鉛筆マークの部分に適当なidが振られます(編集可能)。
すでに「papa-point」はどこかのだれかに使用されているようです。。。
② 規約を呼んで,チェックを入れます。
③ 「続行」ボタンを押します。
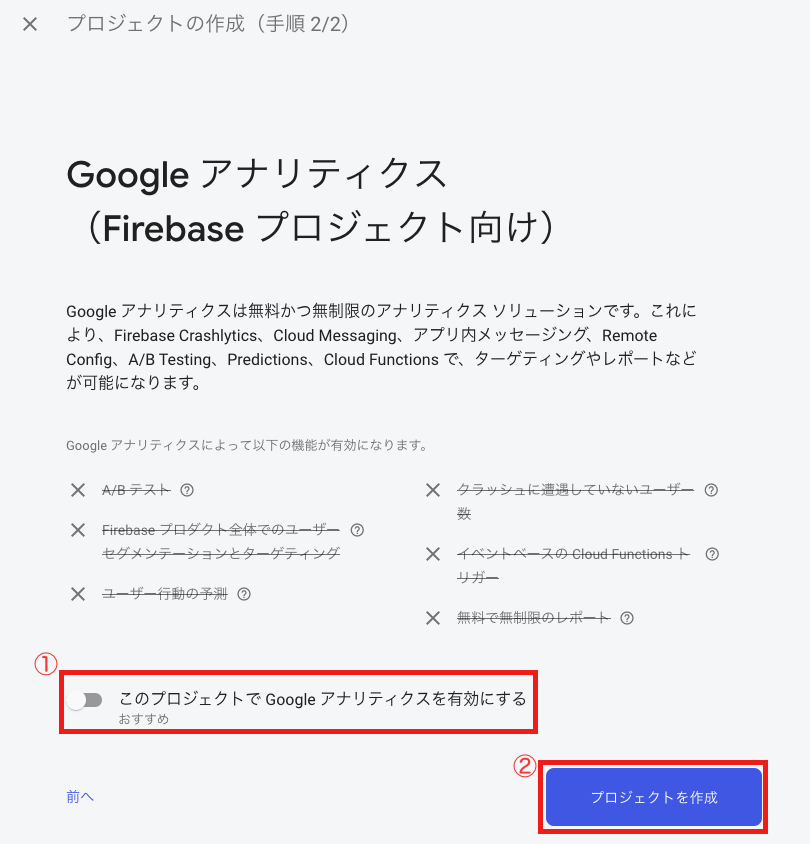
3. アナリティクスの設定をします
① 今回は妻と僕しかアプリを使わない想定なので無効にしておきます。
後からでも設定できるのでここは有効でも無効でもどちらを選んでも問題ないです。
② 「プロジェクトを作成」を押します。
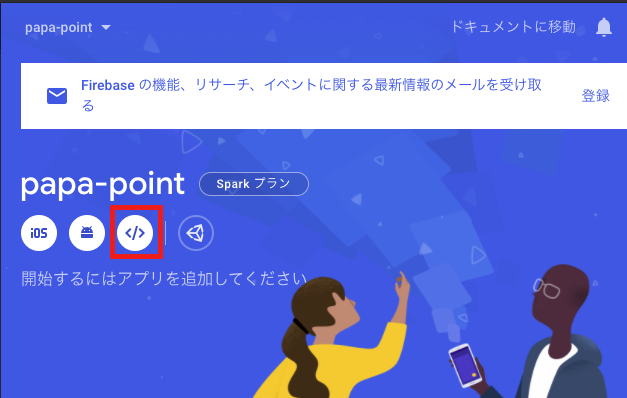
4. Webアプリを追加する
</>のアイコンを押します。
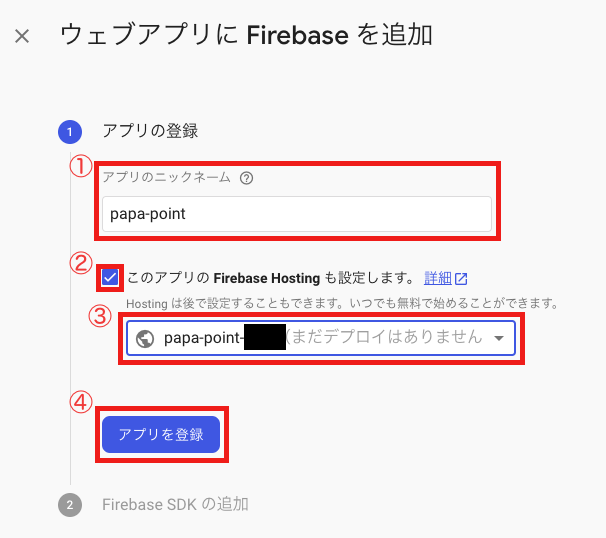
① アプリのニックネームは特に理由がなければ,プロジェクト名と同じでOK。
② 今回はホスティングもFirebaseでついでにやってしまうのでチェックを入れます。
③ プロジェクトIDがデフォルトで入っています。新しく追加することも可能。
④ 「アプリを登録」を押す。
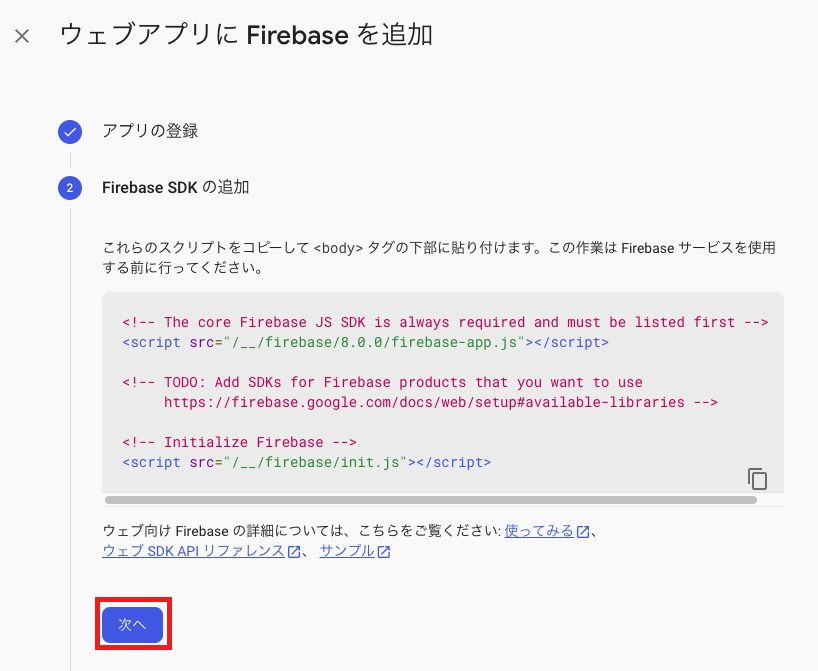
Webpackを使うため特に何もせず,「次へ」を押してOK。
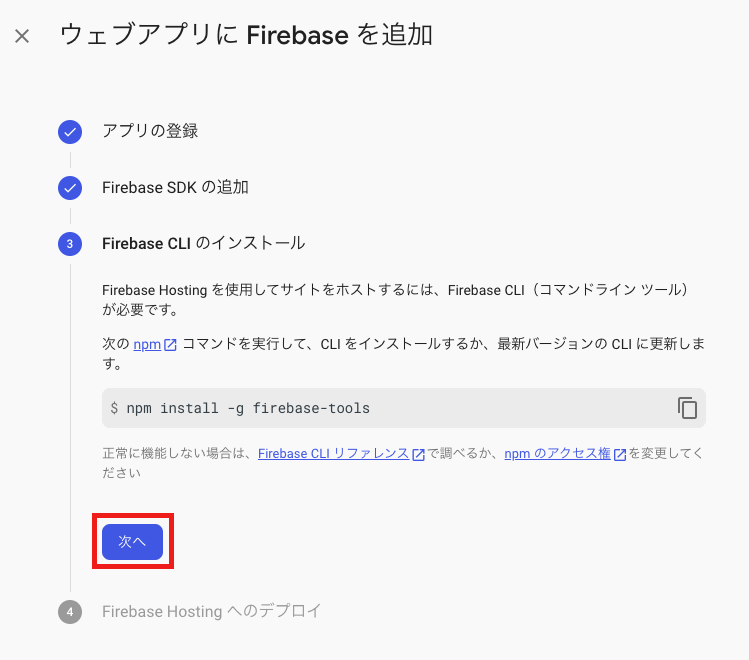
Firebase CLIのインストールは後ほど行うので,「次へ」をおしてOK。
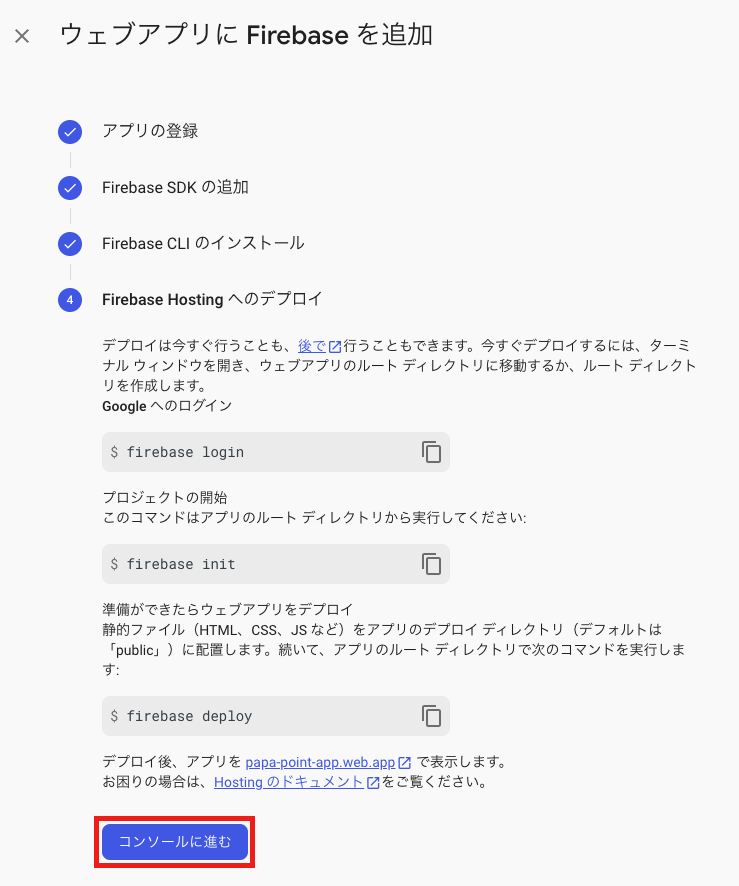
こちらも後ほど行うので,「コンソールに進む」を押します。
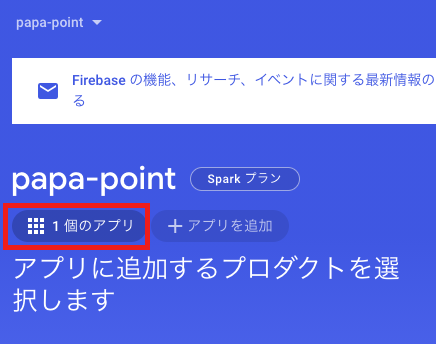
5. リソースロケーションの設定
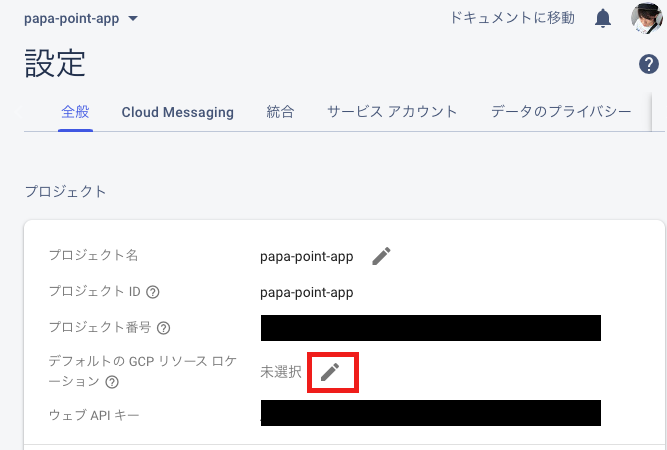
「1個のアプリ」を押します。
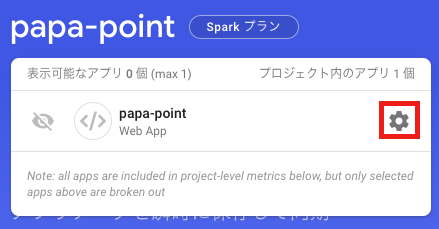
ポップアップされ,先程追加したアプリがリストに表示されるので,歯車のアイコンを押します。
デフォルトのGCPリソースロケーションの項目の鉛筆アイコンを押します。
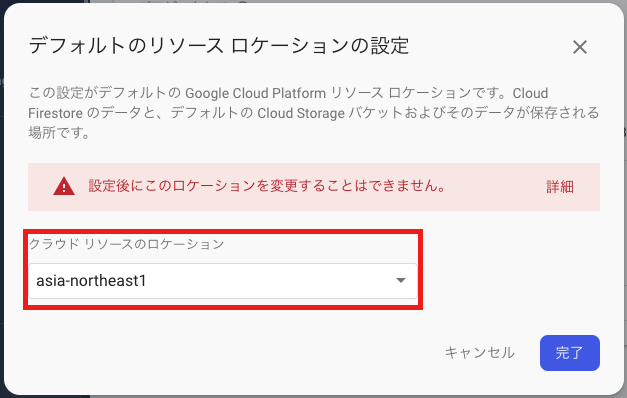
すると,このようなダイアログが表示されるのでロケーションを選択します。
今回は日本で使うアプリなので,東京リージョン(asia-northeast1)を選択しました。
日本国内だと他には大阪リージョン(asia-northeast2)があるのでお好きな方を選択すれば良いと思います。
Firebaseへデプロイする
1. Firebase CLIのインストール
# Firebase CLIをグローバルへインストール
$ npm install -g firebase-tools
# シェルの再起動
$ exec $SHELL -l
2. Firebase CLIで使うアカウントへログインする
# アカウントへログイン
$ firebase login
# サービス向上へ協力するか否か (Y/n)どちらでも大丈夫です。
? Allow Firebase to collect CLI usage and error reporting information?(Y/n)
複数のアカウントでグーグルにログインしているとブラウザが立ち上がり,どのアカウントを使用するか選択する画面が表示されます。
ログインが成功すると以下の画面が表示されます。

ログインのセッションは明示的にログアウトしない限り続くようなので複数のアカウントでFirebaseを使用するときは注意が必要です。
3. Firebaseの初期化
# 初期化コマンド
$ firebase init
# かっこいいアスキーアート
     ######## #### ########  ######## ########     ###     ######  ########
     ##        ##  ##     ## ##       ##     ##  ##   ##  ##       ##
     ######    ##  ########  ######   ########  #########  ######  ######
     ##        ##  ##    ##  ##       ##     ## ##     ##       ## ##
     ##       #### ##     ## ######## ########  ##     ##  ######  ########

You're about to initialize a Firebase project in this directory:

  {Firebaseプロジェクトを初期化するディレクトリ}

# どのFirebaseサービスを使用するか
? Which Firebase CLI features do you want to set up for this folder? Press Space to select features, then Enter to confirm your choices. (Press <space> to sele
ct, <a> to toggle all, <i> to invert selection)
❯◯ Database: Deploy Firebase Realtime Database Rules
 ◉ Firestore: Deploy rules and create indexes for Firestore
 ◉ Functions: Configure and deploy Cloud Functions
 ◉ Hosting: Configure and deploy Firebase Hosting sites
 ◯ Storage: Deploy Cloud Storage security rules
 ◯ Emulators: Set up local emulators for Firebase features
 ◯ Remote Config: Get, deploy, and rollback configurations for Remote Config
今回はFirestore,Function,Hosthingを使用するので矢印キーで該当サービスへ移動してスペースキーを押してチェックを入れEnter。
プロジェクトのセットアップ
=== Project Setup

First, let's associate this project directory with a Firebase project.
You can create multiple project aliases by running firebase use --add,
but for now we'll just set up a default project.

? Please select an option: (Use arrow keys)
❯ Use an existing project
  Create a new project
  Add Firebase to an existing Google Cloud Platform project
  Don't set up a default project
プロジェクトディレクトリとFirebaseプロジェクトの関連付けをします。
Use an existing project(既存のプロジェクトを使用する)を選択します。
Cloud Firestoreのセットアップ
=== Firestore Setup

Error: It looks like you haven't used Cloud Firestore in this project before. Go to https://console.firebase.google.com/project/{プロジェクト名}/firestore to create your Cloud Firestore database.
エラーが出ました。
コンソール上でデータベースの作成をしておく必要があるようです。
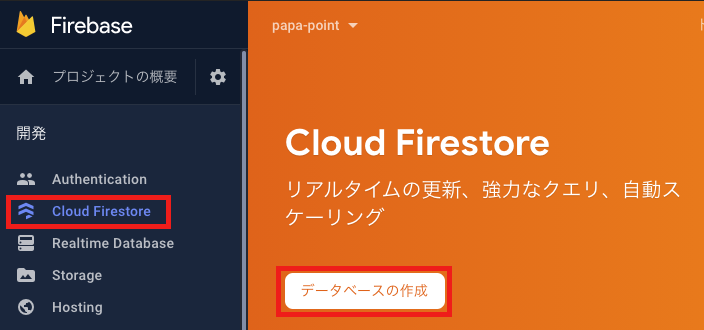
コンソールへアクセスし,左メニューからCloudFirestoreを選択し,「データベースの作成」を押します。
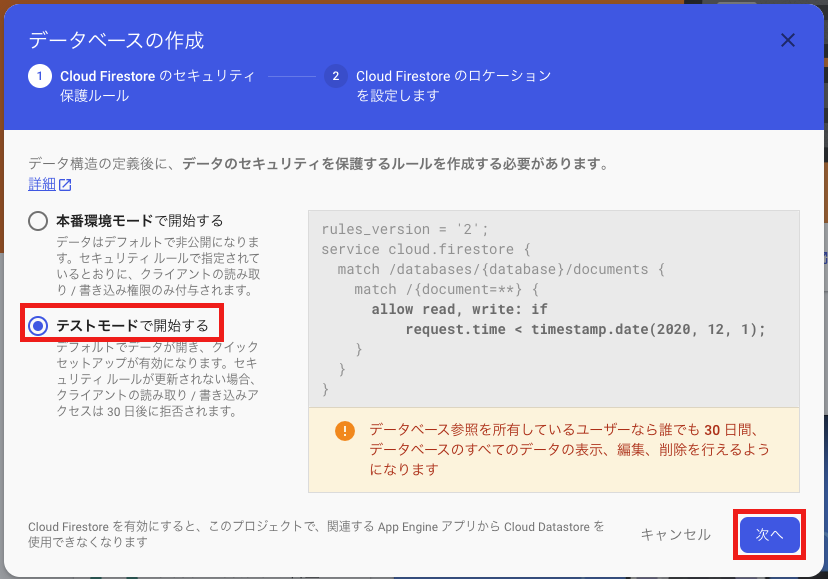
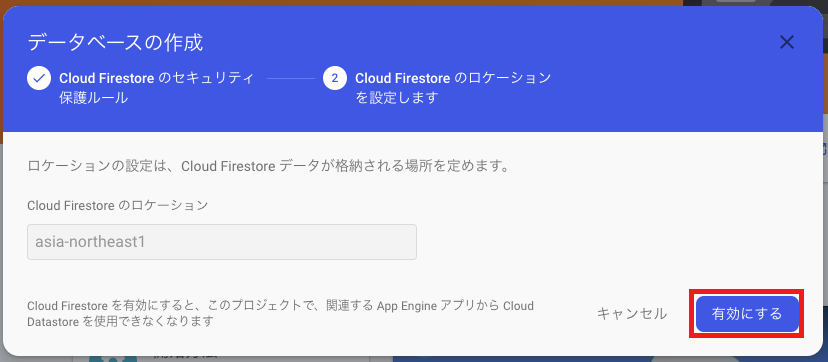
テストモードで開始するを選択し,「次へ」を押します。
特に設定する項目はないので,「有効にする」を押します。
再びfirebase initコマンドを実行します。
=== Firestore Setup

Firestore Security Rules allow you to define how and when to allow
requests. You can keep these rules in your project directory
and publish them with firebase deploy.

? What file should be used for Firestore Rules? (firestore.rules)

Firestore indexes allow you to perform complex queries while
maintaining performance that scales with the size of the result
set. You can keep index definitions in your project directory
and publish them with firebase deploy.

? What file should be used for Firestore indexes? (firestore.indexes.json)
サジェストされたものを使うようにします。
Functionsのセットアップ
=== Functions Setup

A functions directory will be created in your project with a Node.js
package pre-configured. Functions can be deployed with firebase deploy.

? What language would you like to use to write Cloud Functions? TypeScript
? Do you want to use ESLint to catch probable bugs and enforce style? Yes
? Do you want to install dependencies with npm now? No
TypeScriptを選択します。
ESLintを使用。
npmは使用しない。
Hostingのセットアップ
=== Hosting Setup

Your public directory is the folder (relative to your project directory) that
will contain Hosting assets to be uploaded with firebase deploy. If you
have a build process for your assets, use your build's output directory.

? What do you want to use as your public directory? build
? Configure as a single-page app (rewrite all urls to /index.html)? Yes
? Set up automatic builds and deploys with GitHub? No公開ディレクトリがデフォルトだとpublicになっているのでbuildに設定します。
SPAでアプリを作ります。
自動ビルド&デプロイは使用しない。
4. デプロイする
# ビルド
$ yarn build
# デプロイ
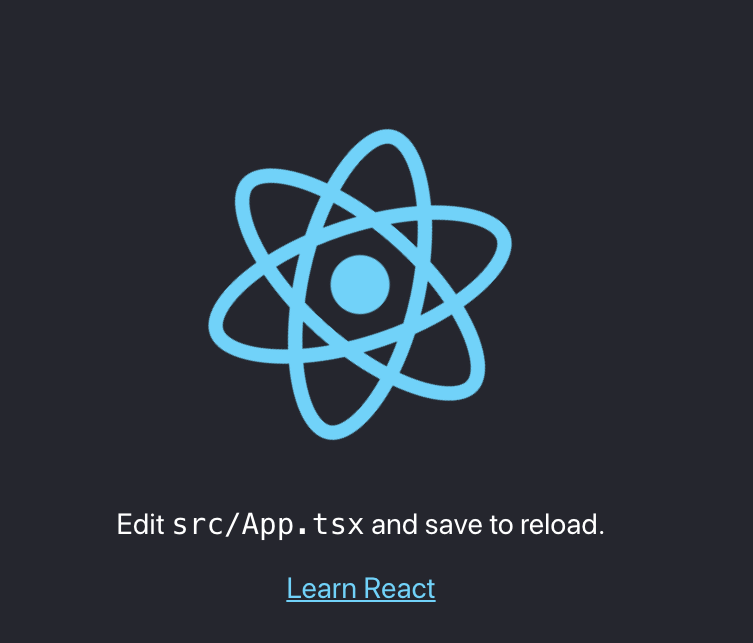
$ firebase deploy --only hostingデプロイコマンドが成功すると,Hosting URLが返されるのでそのURLへアクセスするとデプロイしたものを確認することが出来ます。
はろーりあくと。。。
【参照元】りあクト! Firebaseで始めるサーバーレスReact開発
まとめ
一旦デプロイするところまで完了しました。
やっとスタートラインに立てました。。。
明日から開発に入ります。
それではまた明日。